Pages

Showing posts with label Arts and Crafts. Show all posts

Saturday, July 5, 2014

Dr. Seuss Party

Hello everyone,

Last week my son turned one.  I know...it's crazy... time flies and I cannot believe he is already one! We did a Dr. Seuss theme party. I love The Cat in The Hat and the other characters, and I thought it would be a cute idea for his 1st birthday party.

Below are a few pictures of the party. The colors of the decoration were red, white and aqua.

This is a picture of my little angel :).

I decorated a coffee can to put the spoons. I made the truffula trees using broom rods and used tissue paper to create the trees.

The party favor.

I am very proud of the cake, it looks beautiful and tasted delicious. It was a 7 layer vanilla cake with alternated filling of vanilla buttercream and strawberry buttercream. The outside icing was swiss buttercream. Everything homemade and absolutely amazing!

I made sugar cookies, and chocolate vanilla buttercream icing cupcakes.


To entertain the kids my son helped them to make their own cat in the hat craft.

 A happy baby!!!!

A picture of all of us together, which you may also see how everything was put together. My oldest was The Cat in The Hat :).

It was surely a great party to celebrate our little one.

Hope you enjoyed the post. Happy holidays!!!

Thanks,
Fabiana

Wednesday, May 28, 2014

Newspaper Basket

Hello my friends,

On my last post I promissed to share a special craft I was creating for the teacher appreciation week. I do apologise for not posting it earlier, but my little son was ill and I did not have the chance to do anything. Thank God he is better and I can share my project.

First of all, I would like to share a few pictures of my little one :), he is 11 months old now. Time flies!!!!


He loves potato, broccoli and carrot puree :).


Love those legs up in the air when we take walks to the park :). That's what we call chilling!!!!!


Back to my special project :). I made a super awesome basket from newspaper. I was searching on google ideas of how to make a homemade basket and found this amazing idea. It is very simple and easy to make, and the result is fantastic!!!
I found a video on youtube that explains really well how to make it.  Here is the link of how to assemble the basket: https://www.youtube.com/watch?v=a_pmSdCGnAU


I filled the basket with homemade baking goods. I made bread, cookies and apple sauce. My son wrote a card and we put the paper flowers we created (the previous post explains how to make the flowers).

We gave the gift to three teachers and they all loved it, they found everything wonderful, specially the basket.


I personally loved the idea of making a basket from newspaper because it is totally unique, creative, personal and helps to save the planet. These baskets could be used for any type of gift, for example: Easter basket hunt, Halloween trick or treat, or for Mother's/Father's day. You could fill it with baking goods or beauty products or whatever you find appropriate. The basket usage is infinite.

Hope this post inspired you :). Have a great week!

Thanks,
Fabiana


Tuesday, May 6, 2014

Paper flowers

Good evening,

This is a very important week for our teachers as we are celebrating Teacher Appreciation Week. I believe that we have to show our appreciation for their hard work every day. However, I also think it is fantastic that they have a week to celebrate allowing we, parents, to demonstrate our love and respect. There are many ways to show our appreciation: we can cook a meal or desert, make a flower bouquet craft, bake a cake, buy a gift, give a potted plant and so much more.

I am preparing something very special to give to a few teachers. By the end of this week, I will share the final version of my project. Today,  I will share a paper flower craft that I created to complement the project.

Materials:
Buttons
Construction Paper
Glue
Hot Glue
Stick
Fabric
Cork
toothpick stick

Instructions:

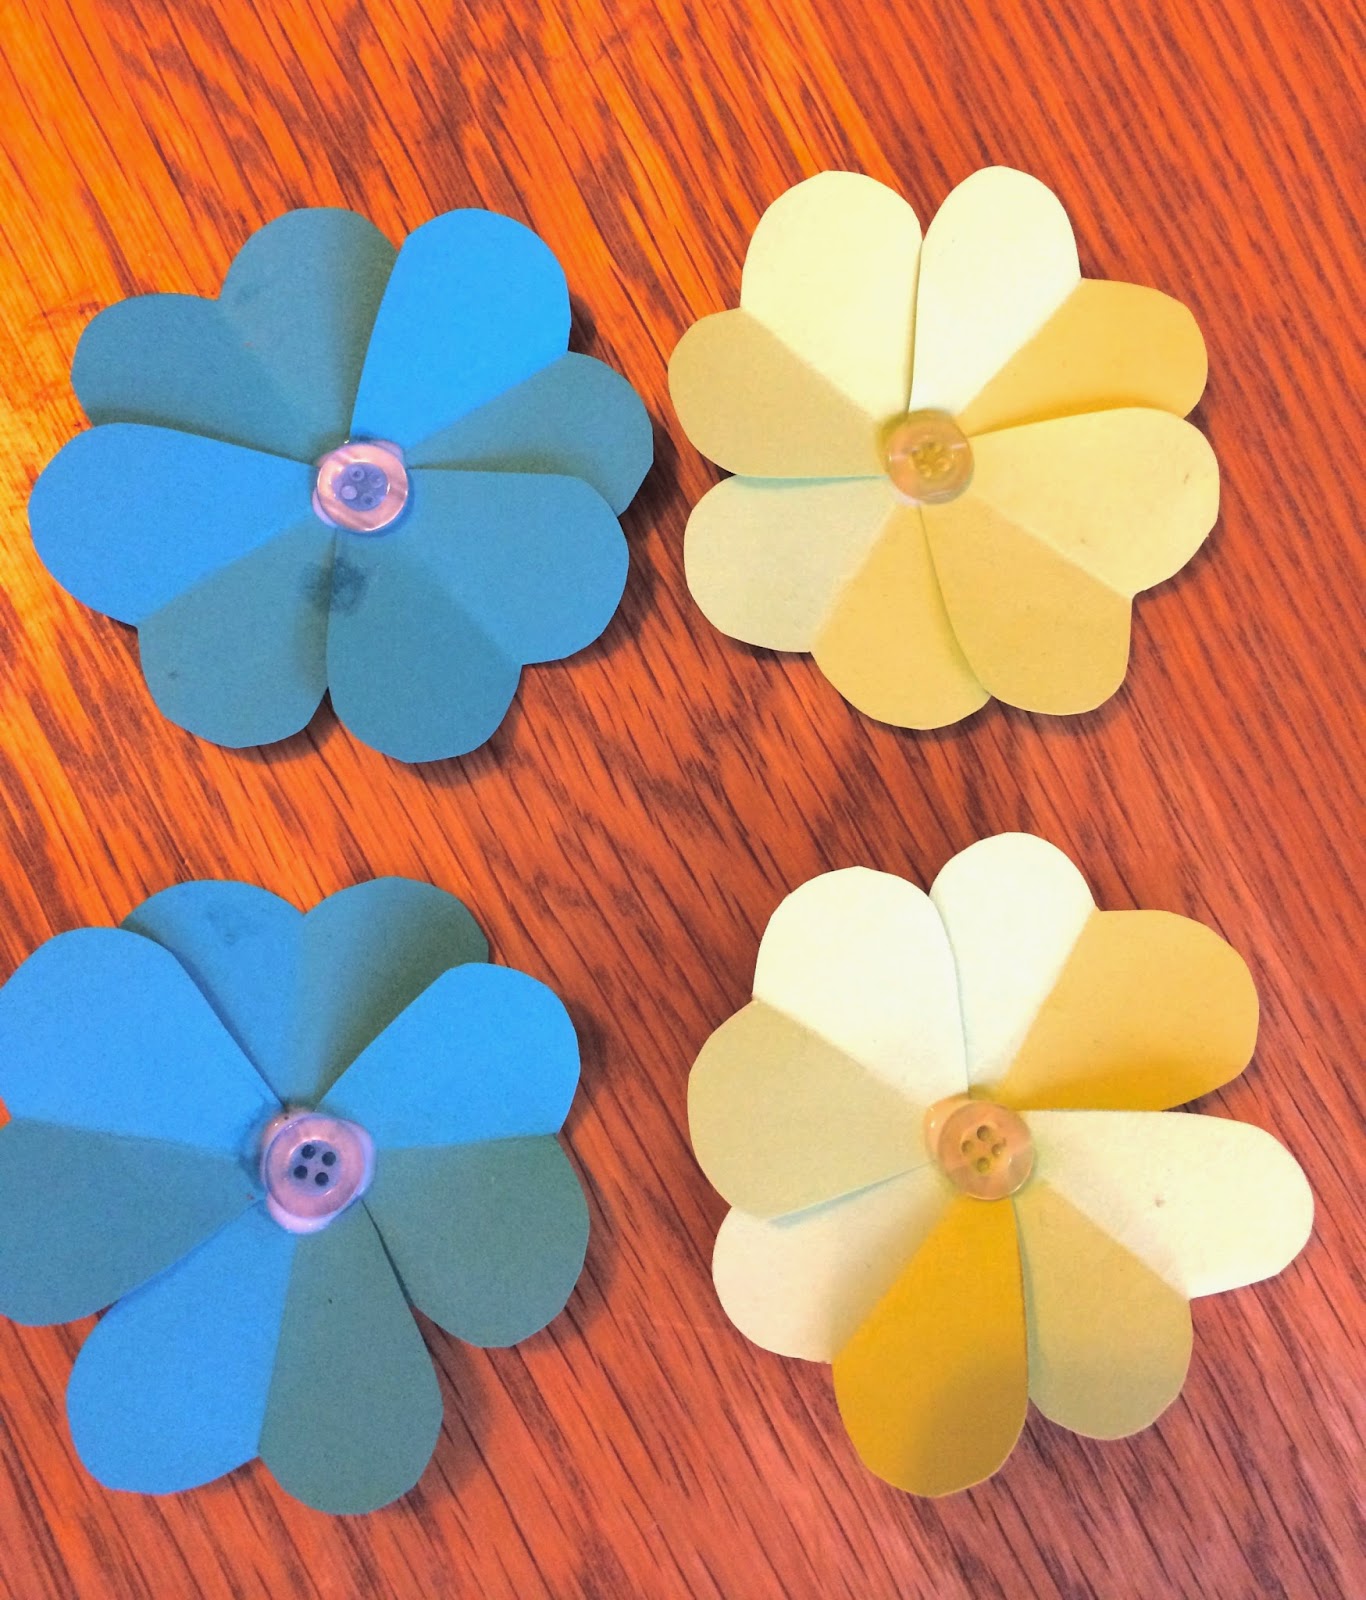
1st: Cut the petals of your flower. Cut them in a heart shape form with the paper color of your choice, and glue them together coupled with the button in the middle. Set it aside to dry.


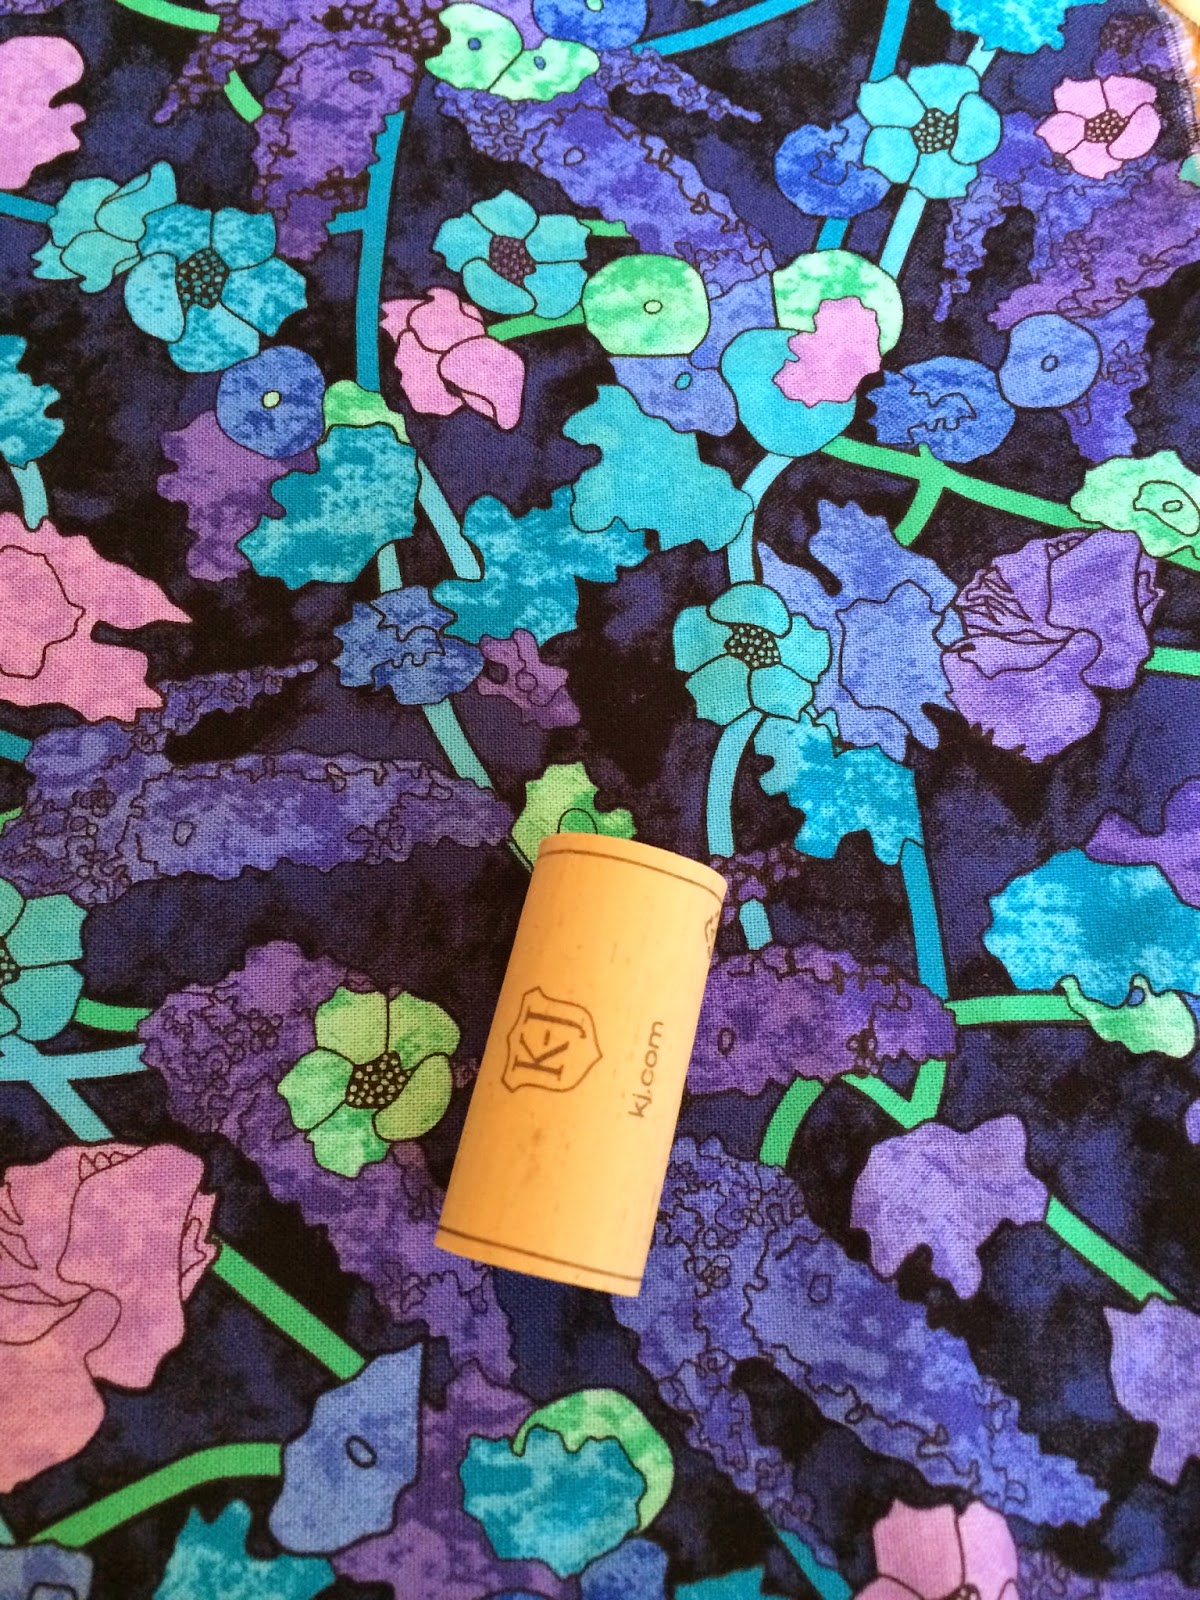
2nd: Cut a piece of your chosen fabric and glue it onto the cork.


3rd: Insert the stick into the cork to create the stem.


4th: Using your hot glue, attach one flower onto of the top of the stick and two toothpick sticks on each side of the stick to create the branches. One on the right side and the other on the left side of the stick.


5th: When the glue is dried, stick the other flowers to the toothpick sticks. If you wish, you may also add a leaf to each flower.


This is a very simple and easy to make craft that turns into a precious flower bouquet.

Hope you enjoyed the post. I will keep you updated on my special project :).

Take care,
Fabiana

Wednesday, June 5, 2013

Spiders

Hello :))), hope you had a good day!!!

This week my son is studying about spiders. We have two books that we are studying and learning all about these creatures, as well as the difference between them and insects. Both books are great resources to introduce bugs and spiders to your children. It is full of great illustrations, very colorful and the language is appropriate for their age, which makes reading easier.


My son also has done many exercises about life cycle of the spider, body parts, crosswords, writing and many others to help him comprehend the way spider lives, eats, hunts, molting and so on. All these exercises were printed from Kidzone.


 Furthermore, he did other tasks focusing on comparing insects and spiders. These exercises were great to make him understand the difference between these two species, and also studied them individually.


I wanted my son to make a spider, so when my son were talking about what type of spider he would make, he decided to create an argiope spider. The picture below illustrates the real spider.


 The following image is my son's creation of the argiope spider. It looks pretty good!!!!! He used a plastic ball, two wiggly eyes, chenille pipe and string to make the web.


Have a wonderful evening. Thanks for reading my blog :)!!!

Fabiana

Thursday, May 16, 2013

Frog Hat

Today was a very productive and nice day :). We started our day learning the difference between frogs and toads. We read Days with Frog and Toad, and also checked on Kidzone to learn more scientifically the difference between them. Two other websites that helped my son to understand the dissimilarities were All About Frogs and Kiddyhouse.


Afterwards, my son worked on comparing and contrasting frogs and toads. This was a great cut and paste activity for him to compare and contrast frogs and toads on the Venn Diagram.  He also did a creative writing.


Once my son wrote the reasons he would rather be a frog on his creative writing activity :), he was ready to make his frog hat. I used construction paper to cut the templates, which I printed from making friends,  and my son put it together. He used cotton balls and pompons to create the eyes, and chenille pipe cleaners to hold the hat on his head. It looked pretty cool :))!!!


In the afternoon, my son worked with reading comprehension using a Frog and Toad Together Mini Lesson that I printed for free on TPT.  My son did two tasks with this exercise. The first one he read the story and then put it in order according to the text. In the second task, I took all the papers away and asked him to put the story in order without looking at the text. When he finished, I asked him to go back to his first task and compare them to see if his answers were right. He did a great job retelling the story. This was a great exercise in reading comprehension, which I recommend you to download.


He also did a few exercises to practice contractions.


I would also like to remind you about our giveaway, which is ending on Friday at midnight. We are giving away 6 wonderful products from my TPT store, Fern Smith's Classrrom Idea and Oceans of First Grade Fun. To enter the competition and a  have a chance to win follow the link below please. a Rafflecopter giveaway

Thanks and good luck!!!!

Fabiana  

Tuesday, May 14, 2013

Ribbit Ribbit

Today was a beautiful and warm day in Chicago. My son and I went for a bike ride at the end of the day, and the weather was just perfect. The smell of the flowers were even more endearing. I love spring!!!!


Today we continued working on our frog math, literacy and science unit. My son worked doing: word search, compound words, antonym, synonym, telling the time, riddle, fact and opinion, and writing. As I posted yesterday, I purchased on TPT a package called Frog unit - Math, Literacy and Science by Primary Divas. This package is wonderful, it explores very well the context of the lesson, which are frogs, as well as involving other subjects to help the child develop their understanding of the subject matter.


In addition, my son wrote a few frog facts that he learned about frogs, and he also created a frog craft. He hung the frog on our wall to be able to read about them every day.


Moreover, its time for our 3rd giveaway of the month. This week two of the greatest teachers and bloggers around are supporting our blog: Fern Smith's Classroom Ideas and Oceans of 1st Grade Fun. I am very excited for this giveaway because they are amazing and have been quite generous with their offer :)). It has also been a pleasure and honor to work with them, thanks girls :)))!!!


OCEANS OF 1ST GRADE FUN

To enter the competition and a  have a chance to win follow the link below please. The giveaway starts now and it will finish on Friday at midnight. We are offering 6 wonderful packages. The winner will be announced on the weekend.

a Rafflecopter giveaway

Thanks for reading our blog, and good luck :))!!!

Fabiana

Sunday, April 28, 2013

Earth Day

Hello everyone :)!!!! Hope you had a fantastic weekend!!!!

It's been quite awhile since I last wrote on my blog, and I do apologize for my absence. As I mentioned on my last post we were in transition moving to a new apartment, hence why my silence as we were very busy. Things are looking better now, we are settled and ready to start our routine again. I love my new place, by the way :))))!!!!

Even though we  and things were quite hectic, I managed to teach and celebrate Earth day with my son. This past week was filled with many topics about ways to save the planet.

We made a balloon paper mache Earth, which took him three days to finish. We used a balloon, a cup to hold the balloon, strips of newspapers and a few strips of paper towel. To make the paper mache mixture I used two cups of flour and 5 cups of water. I instructed my son to dip the paper into the paste and after use his fingers to wipe off the excess so that his balloon doesn't drip and dry faster. As he laid the newspaper onto the balloon he gently  smoothed the wrinkles. We covered the balloon with two layers of newspaper and 1 layer of paper towel. We used the paper towel as a finish in order to make it nicer when he would paint the continents. For each layer we let it dry overnight.


The second to last part of my son's job was to paint the continents. I showed a picture on the internet of what it looks like and asked him to paint an approximation as best he could. He did a wonderful job!!!!! He painted the continents twice in order to obtain a better result. Furthermore, I also requested him to write the name of the continents on the balloon.


Then his balloon paper marche Earth was completed :))).


Moreover, he did many exercises involving recycling, reducing, reusing and learning about ways to save the planet. 


What about you? What was your Earth Day craft?

Hope you enjoyed our post. Have a terrific week.

Thanks!!!!
Fabiana


Tuesday, April 2, 2013

Clown

This week we are learning about shapes. We are working with our Singapore Math books, which has plenty of exercises to practice this subject.

To practice using shapes in different situations my son drew a clown, which was designed using different shapes and patterns. 


Thanks for stopping by :))!!

Fabiana

Thursday, March 28, 2013

Bird Nest

Hello everyone, hope you had a great day today. The weather was lovely here in Chicago - it was warm, the sky was blue and the sun was shining :)))) - a perfect spring day.

To welcome spring again :), my son created a bird nest, which looked very nice. The idea was taken from Kaboose. They used American moss to create the nest, and we used sticks and leaves that we picked from our front yard. The bird and the eggs were made from felt. We used paper plate to glue the artwork.


My son also wrote a note "welcome spring" and glued it onto the paper plate. The image below is the final result. It looked quite cute :)!!! This craft is very easy and inexpensive to make, as well as perfect to create when teaching about spring or birds.


I also have designed a pack focusing on shapes. In this pack you will find an uncolored version of a bunny to use to create a mosaic. I also prepared the colored shapes, which you simply need to print and cut.

Furthermore, I created four exercises focusing on shapes: the first one the student will count the number of shapes he used on his mosaic. The second one he will answer a few questions about greatest and smallest, again all related to his mosaic. The third exercise is about pattern. The last worksheet is a word search based on the name of the shapes.


This material is available for FREE on TPT. To download your free copy simply click on the following link:
http://www.teacherspayteachers.com/Product/Easter-Bunny-Mosaic-and-other-Shape-Activities

I would very much appreciate your rating on this product. Thanks :)))!!!

Have a nice day tomorrow.
Fabiana