
My son was flipping through the book to decide which projects he wanted to do, the "tunnel in a landscape" project captured his attention instantly. We worked on this project for three days because we needed to wait the paint to dry. It was a long project but I highly recommend it as there are many advantages to develop your child's education and personality. For example, your child will improve hand and eye coordination, practice measurement, get his hands really dirt (which they love), learn patience, as well as bounding with your child. All of the aforesaid are important points to make your child feel very confident when completing a project.
Materials:
- tape or making tape;
- two pieces of thick card measuring 14 x 12 inches and 18 x 10 inches;
- thin card measuring 17 x 16 inches;
- thin card 8 x 11 inches;
- ruler;
- scissors;
- newspaper;
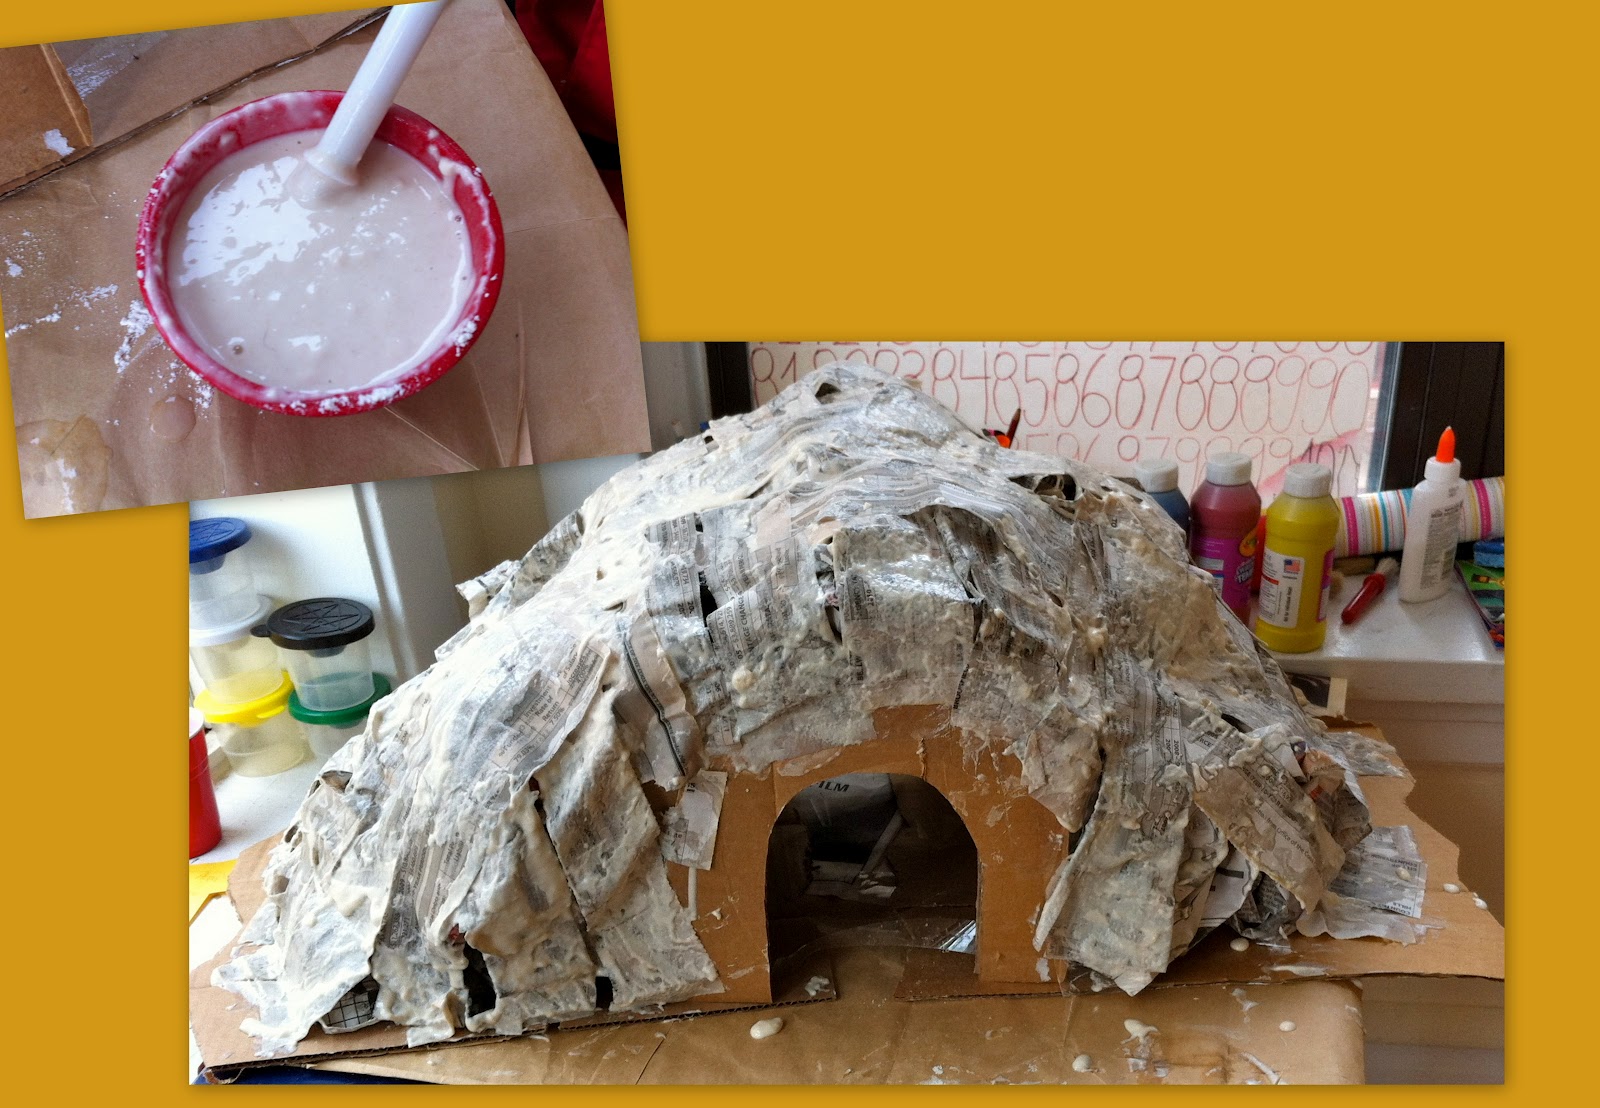
- cup of flour;
- half cup of water;
- acrylic paints;
- paintbrush;
- sponge;
- glue.

Instructions:
1st Step: Tear off about four long strips of masking tape or tape. Curve the 18 x 10 inches rectangle of cardboard lengthways. Use the tape to hold the curve in place as shown below.

2nd step: Take the two pieces of thick cardboard measuring 14 x 12 inches and cut 1 inch around the edges to make an irregular shape. Attach each one to the sides of the tunnel, and secure with tape.

3rd step: Fold the 17 x 16 thin card in half to make an arch measuring 7 x 8 inches. Cut it out to make the two tunnel entrances. Stick these to the tunnel with tape or masking take. Our arch is a bit smaller because we did not have cardboard the size the book suggested. However, it did not change the final result.

4th step: Scrunch newspaper into balls, and tape to the tunnel and landscape.

5th step: Mix the flour and water to make a thick paste. Dip newspaper strips in the paste. Lay them over the tunnel. Leave it to dry overnight.
6th step: When the tunnel is completely dried and hard, paint it green. Apply up to three coats, letting each one dry before applying the next.

7th step: Paint the thin card to look like brick measuring 1/2 x 1 inch. We used a mix of brown, yellow, orange and red markers to create the bricks. We also painted the entrance of the tunnel and a bit around the landscape to create a nice one. Once it is finished, glue the bricks around the arch of the tunnel.

8th step: Dip the sponge into green paint to make bushes. The only sponges we had available at home was course, so we did not need to paint. Stick them on the landscape.


Hope you enjoyed our project. Have a nice weekend. Thanks.
Fabiana
No comments:
Post a Comment
.